 how-to
Restore a Gravel Driveway After Heavy Rain
Last Updated: October 23, 2026
Quick Summary
To restore gravel driveway surfaces after heavy rain, clear debris and loose material, regrade the surface to create a gentle slope from center to edges, compact the base firmly, and add fresh gravel in layers of three to four inches of base stone topped with two to three inches of smaller crushed stone.
- A properly graded driveway should slope one inch lower for every eight feet of width from center to edges.
- Use crushed limestone, crushed granite, or Jersey gravel rather than round river rock, which does not compact well.
- Install a culvert pipe where water crosses your driveway to channel water underneath instead of across the surface.
- Rake your driveway every few months and add a quarter-inch to half-inch layer of fresh gravel once a year.
- Compact the base layer firmly using a tamper or mechanical compactor before adding the top layer of gravel.
Table of Contents
- Assess Damage to Your Gravel Driveway
- What You'll Need Before Starting
- How to Fix a Washed-Out Gravel Driveway
- Best Gravel for Driveway Repair
- Gravel Driveway Drainage Solutions
- Gravel Driveway Culvert Repair and Installation
- Common Mistakes to Avoid
- Maintain Your Restored Gravel Driveway
- Frequently Asked Questions
Assess Damage to Your Gravel Driveway
After heavy rain, you may need to restore gravel driveway surfaces that have taken a beating. Water cuts ruts into the surface. Stones scatter to the edges. Potholes form in low spots. The key is spotting damage early so you can fix it before it gets worse.
Start by walking your entire driveway. Look for washouts, erosion patterns, and areas where water pooled. The Federal Highway Administration advises being particularly vigilant after heavy rain and notes that an unpaved roadway may need reconstruction to correct drainage issues or add surface material. Pay attention to how water flows across the surface. If it's running in deep channels instead of draining evenly, that's a problem you need to address.
Common damage patterns after heavy rain
Heavy rain creates predictable damage patterns on gravel driveways. Understanding what you're looking at helps you plan the right fix.
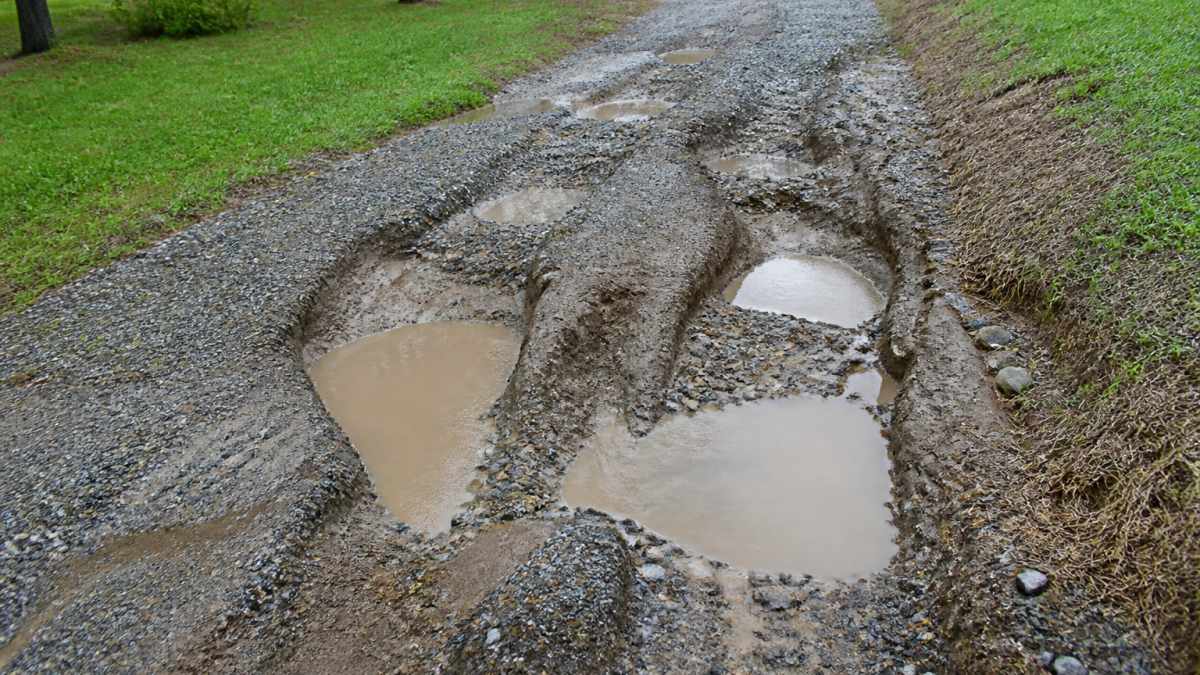
Washouts and ruts are the most common issue. Water carves deep grooves down the center or along the edges. These channels get worse with each rain because water follows the same path every time. If you ignore them, they become impassable.
Erosion happens when rain washes finer gravel particles away, leaving larger stones exposed. The surface becomes uneven and loose. Your tires sink into soft spots.
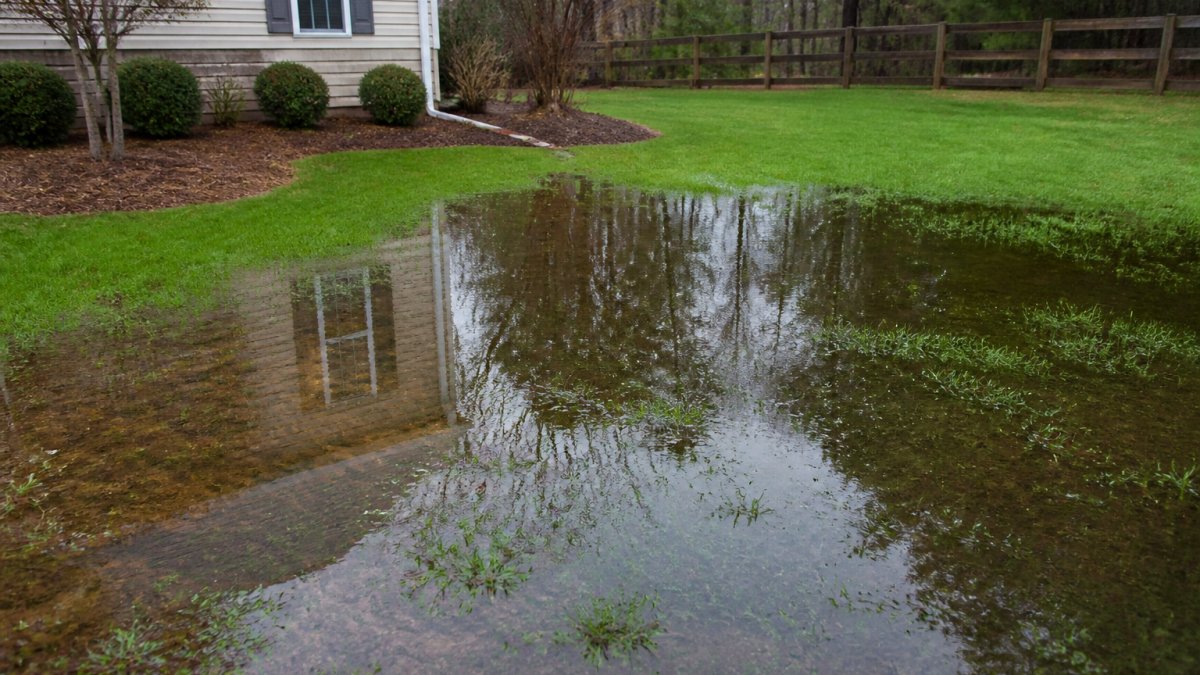
Potholes form in low areas where water collects. The constant moisture weakens the base. Traffic pushes through the soft spot, creating a hole that grows larger.
Edge slumping occurs when the sides of your driveway collapse inward. This happens when water undermines the edge or when the slope is too steep.
When to call a professional
Some damage you can handle yourself. Some you can't.
Handle it yourself if the damage is minor: a few small potholes, light erosion, or scattered stones. If your driveway has major washouts, severe erosion across most of the surface, or structural problems with the base layer, call a professional. At Four Oaks Grading and Septic LLC, we assess the base, check drainage, and recommend the right solution for your specific situation.
What You'll Need Before Starting
Gather your materials and tools before you start to restore gravel driveway sections. You don't want to run to the store halfway through the job.
Tools you'll need:
- Shovel (round-point for moving gravel, square-point for scraping)
- Rake (for leveling and spreading)
- Wheelbarrow (for moving material)
- Tamper or hand compactor (to pack the gravel)
- Level (to check slope)
- Measuring tape
- Work gloves and safety glasses
Materials:
- Fresh gravel (quantity depends on your driveway size and damage severity)
- Landscape fabric (optional, helps prevent washouts)
- Culvert pipe or drainage solutions (if needed for water management)
Rent a compactor if you don't own one. A hand tamper works for small areas, but a mechanical compactor saves time and does a better job on larger sections.
How to Fix a Washed-Out Gravel Driveway
The basic process is straightforward. Clear debris, regrade the surface, and add fresh material. The details matter, though. Doing it right means your driveway stays solid longer.
Clearing debris and loose material
Start by removing everything that doesn't belong. Branches, leaves, mud, and displaced stones need to go.
Use your shovel to scrape out loose material from ruts and washout areas. Push it to the sides temporarily. Clear out any debris that's settled into low spots. A rake works well for this. Pull it across the surface to loosen compacted mud and gather loose stones.
Once the surface is clear, you can see the actual damage. This is important because you need to know whether you're just filling holes or rebuilding the entire base.
Regrading and reshaping the surface
Now comes the critical step: reshaping your driveway so water drains properly.
A properly graded driveway slopes gently from the center toward the edges. This is called the "crown." Water should flow off to the sides, not collect in the middle.
Use your rake and shovel to rebuild the crown. Start in the middle and work toward the edges. The slope should be gentle, not steep. A good rule is a drop of one inch for every eight feet of width.
Check your work with a level. Place it across the driveway at different points. It should show a slight downward slope from center to edge. Adjust as needed.
Once the base is shaped correctly, compact it firmly. Use your tamper or rented compactor to pack the soil. This creates a stable foundation for the new gravel.
Best Gravel for Driveway Repair
Not all gravel is the same. The type you choose affects how well your driveway holds up.
Crushed limestone is a popular choice. It compacts well and provides good drainage. The angular edges lock together, creating a stable surface.
Crushed granite is harder and lasts longer than limestone. It's more expensive but worth it if you want durability.
Jersey gravel (a mix of stone, sand, and dust) compacts extremely well. It's excellent for creating a solid base layer.
Marble chips are attractive but expensive. They work best as a top layer over a base of cheaper material.
For most driveways, use a layered approach. Put down three to four inches of larger base stone first. Compact it well. Then add two to three inches of smaller crushed stone on top.
Gravel Driveway Drainage Solutions
Drainage is everything. Get this wrong and you'll be fixing your driveway again in six months.
Creating proper slope and crown
A crowned driveway is your first line of defense against water damage. The center should be higher than the edges by about one inch per four feet of width.
Get you free estimate today! →
This slope serves two purposes. It sheds water to the sides instead of letting it pool. It also prevents water from running toward your home's foundation.
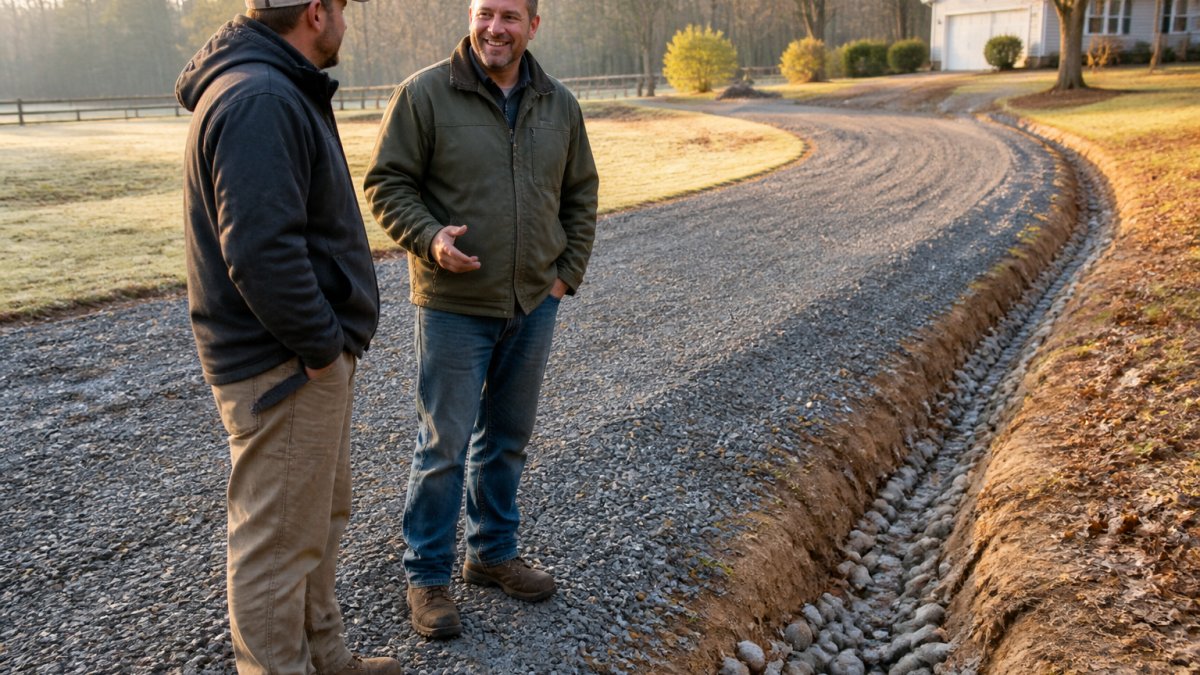
If your property has natural low spots where water collects, you may need additional solutions. A swale (a shallow ditch) on the downhill side of your driveway channels water away. Make it gentle and wide so it doesn't become a hazard.
Installing or repairing culverts
If water runs across your driveway from uphill areas, a culvert is the answer. A culvert is a pipe that carries water under your driveway instead of letting it flow across the surface.
Choose a culvert size based on how much water flows through. A four-inch pipe handles light flow. Six-inch or larger pipes are needed for heavier water movement. Place it where water naturally runs. Make sure it's level or slopes slightly downhill so water flows through it.
Bury the culvert so the top is at or slightly below grade. Cover it with landscape fabric and gravel. The fabric prevents gravel from clogging the pipe.
Gravel Driveway Culvert Repair and Installation
Installing a culvert correctly makes the difference between a working solution and a failed one.
Measure the width of the area where water crosses. This tells you how long your culvert needs to be.
Dig a trench deep enough so the culvert sits at or slightly below the final driveway surface. Make sure the trench slopes gently downhill.
Place the culvert in the trench. Check that it's level side-to-side but slopes slightly downhill lengthwise.
Cover with landscape fabric to prevent gravel from entering the pipe. Fold the fabric over the top and sides.
Add gravel over the culvert. Build up the driveway surface around it. Compact everything firmly.
Test your work by watching what happens during the next rain. Water should flow through the culvert, not pool on your driveway.
Common Mistakes to Avoid
Learning from others' mistakes saves time and money.
Skipping the crown. Flat driveways fail fast. Always build in a slope from center to edges.
Using the wrong gravel. Round river rock doesn't compact well. Stick with crushed stone that locks together.
Not compacting the base. A loose base crumbles under traffic and weather. Spend time packing it down.
Ignoring drainage. If water sits on your driveway, you've already lost. Fix drainage before adding gravel.
Adding too much gravel at once. Build up in layers. Three to four inches total is right.
Forgetting about maintenance. Raking gravel back into place after winter keeps your driveway looking good and functioning well.
Maintain Your Restored Gravel Driveway
Your work doesn't end once the repair is done. Regular maintenance keeps your driveway solid.
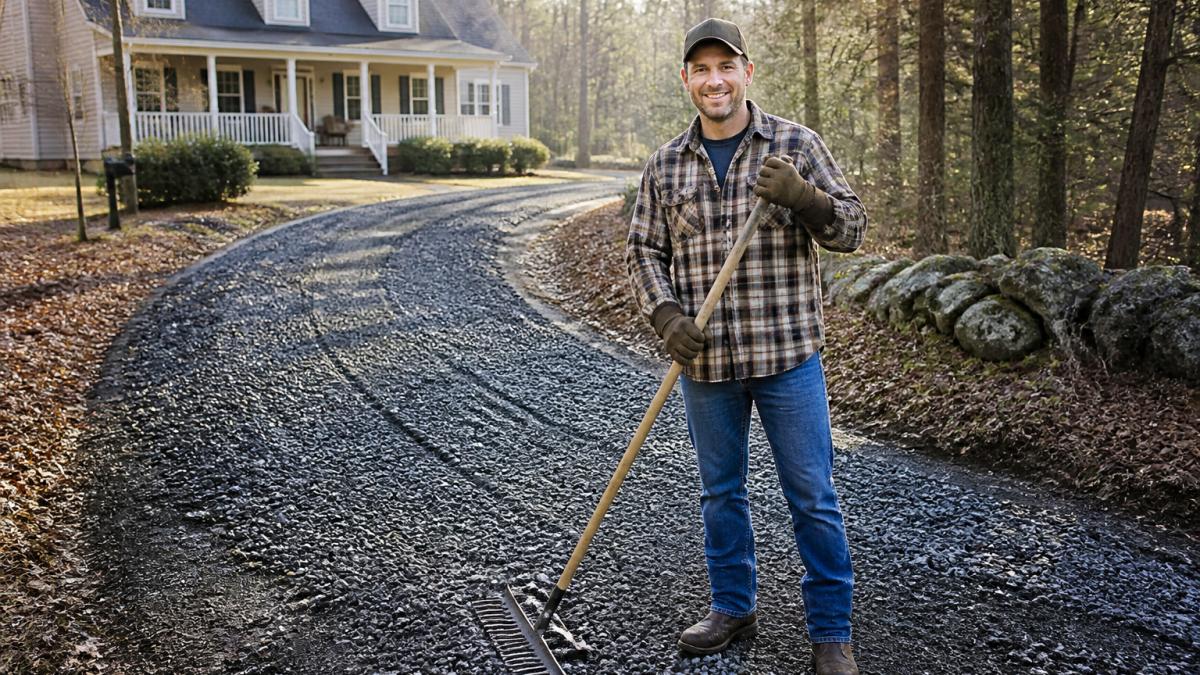
Rake regularly. Every few months, rake the surface to redistribute gravel and fill small ruts. This takes thirty minutes and prevents problems from growing.
Add gravel as needed. Over time, gravel works into the soil or gets displaced. Add a thin layer once a year.
Check drainage after rain. Watch how water flows. If it's pooling in new spots, adjust the crown or add a swale.
Fill potholes immediately. Small holes grow fast. Fill them as soon as you notice them.
Avoid heavy equipment. Gravel driveways aren't meant for constant heavy traffic. Park large vehicles elsewhere when possible.
Four Oaks Grading and Septic LLC serves Thomasville and the surrounding area with professional driveway restoration and drainage solutions. If your gravel driveway needs more than a DIY fix, or if you want professional guidance on the right approach for your property, we're here to help. Our team assesses the damage, identifies the root cause, and builds a solution that lasts.
Restoring a gravel driveway after heavy rain is manageable if you understand the basics.
Frequently Asked Questions
How do you fix a gravel driveway that has washed out?
Start by clearing debris and loose material from the washed-out areas. Regrade the surface to restore proper slope, then fill low spots and ruts with fresh gravel in 4- to 6-inch layers. Compact each layer with a tamper or roller. The Federal Highway Administration notes that unpaved roadways may need reconstruction to correct drainage or add surface material after heavy rain. For severe washout, consider installing or repairing culverts to manage water flow and prevent future erosion.
What is the best gravel for driveway repair?
Use crushed stone or angular gravel for driveway repair, it compacts better than rounded gravel and provides stronger stability. A mix of sizes (from dust to 1.5 inches) works best because smaller particles fill gaps between larger stones. Avoid using pure sand or pea gravel, which shift easily under vehicle weight. Lay gravel in multiple layers, compacting between each one, to create a durable surface that resists washout and rutting.
Can you repair a gravel driveway while it is wet?
Avoid working on a wet gravel driveway if possible. Wet gravel is difficult to compact and won't bond properly, leading to poor results. Wait 24-48 hours after heavy rain for the surface to dry. If drainage issues are severe and you cannot wait, focus on clearing water and improving drainage (regrading, installing culverts) rather than adding fresh gravel. Once the base dries, then add and compact new material.
When should you call a professional to repair a gravel driveway?
Call a professional if washout is extensive, your driveway has deep ruts or gullies, water consistently pools or runs off unevenly, or you need culvert installation or repair. Professionals have the equipment (graders, compactors, excavators) to regrade large areas efficiently and can diagnose underlying drainage problems. They also ensure work meets local standards and prevents future damage. For minor potholes or light erosion, DIY repair is often sufficient.